Guitarix – Behringer FCB1010
I recently purchased the Behringer FCB1010 midi foot pedal to connect and control my guitarix music rig on linux. The pedal didnt connnect straight away as it was set to channel 16 for some crazy reason so to change the channel
This changes the channel i set mine to channel one.
Set the MIDI Channels
The MIDI channel on your FCB1010 must match the MIDI channel used on your other MIDI gear. If they are not the same, MIDI commands sent buy the FCB1010 will just be ignored by your MIDI gear. Try MIDI channel 1 on both for a start.
To set the MIDI channel on your FCB1010, do the following:
- If FCB1010 is turned on, turn it off
- Press and hold the Down button while you turn on the FCB1010. Keep holding it down for about 5 seconds. When you see the small green light come on, release the button
- Press the UP button once. The green light will have changed to the MIDI Function selection.
- Press the 1 button. The 1 button LED and green light will begin to blink. The display will change to show you the current MIDI channel for PC command.
- Press the UP button once. The green light will move to MIDI Chann and the display digit will begin to blink.
- Press the 0 button and then the 1 button. This will change it to MIDI channel 1. The display should now show 01.
- Press the UP button once. The green light will move to the MIDI Config selection.
- Now press and hold the Down button for about 5 seconds. The display will change to 00.
You have now programmed the FCB for the first PC command to MIDI channel 1. To set a different channel, the steps are basically the same except you enter a different number in the sixth step above.
This is the steps for calibration
FCB1010 Pedal Calibration
How to Calibrate the Behringer FCB1010 Expression Pedals
Many users experience problems with the expression pedal range on new FCB1010’s, in which one or both pedals do not transmit a full range of controller values from 0-127 (0x00-0x7F). the way to fix this is to follow the steps outlined below.
- Keep footswitches 1 and 3 pressed while switching on the unit (This bit you can’t do standing up!). Release the switches when the display blanks. The LEDs on the footswitches, the ones on the display and each segment of the two numeric displays will turn on and off in sequence.
- Wait until all footswitch LEDs are on. Depress all footswitches one at a time, including UP and DOWN, until all LEDs are off.
- Wait until relay switch test is finished. (There will be a couple of mechanical clicks, and the display will end up reading “F1” (at least, it did on mine)). [Also, if you have connected a MIDI cable between the MIDI in and out, the display will show “A1” before this, meaning the midi ports work correctly.]
- Press DOWN once.
- Adjust the left expression pedal (A) to the lowest value. Once adjusted press UP.
- Adjust the left expression pedal (A) to the highest value. Once adjusted press UP.
- Adjust the right expression pedal (B) to the lowest value. Once adjusted press UP.
- Adjust the right expression pedal (B) to the highest value. Once adjusted press UP.
- Select a patch which has both pedals set to their full range, and check the expression pedals now send 0-127 (0x00-0x7F)
Enjoy your pedal and expression pedals on guitarix i am!!
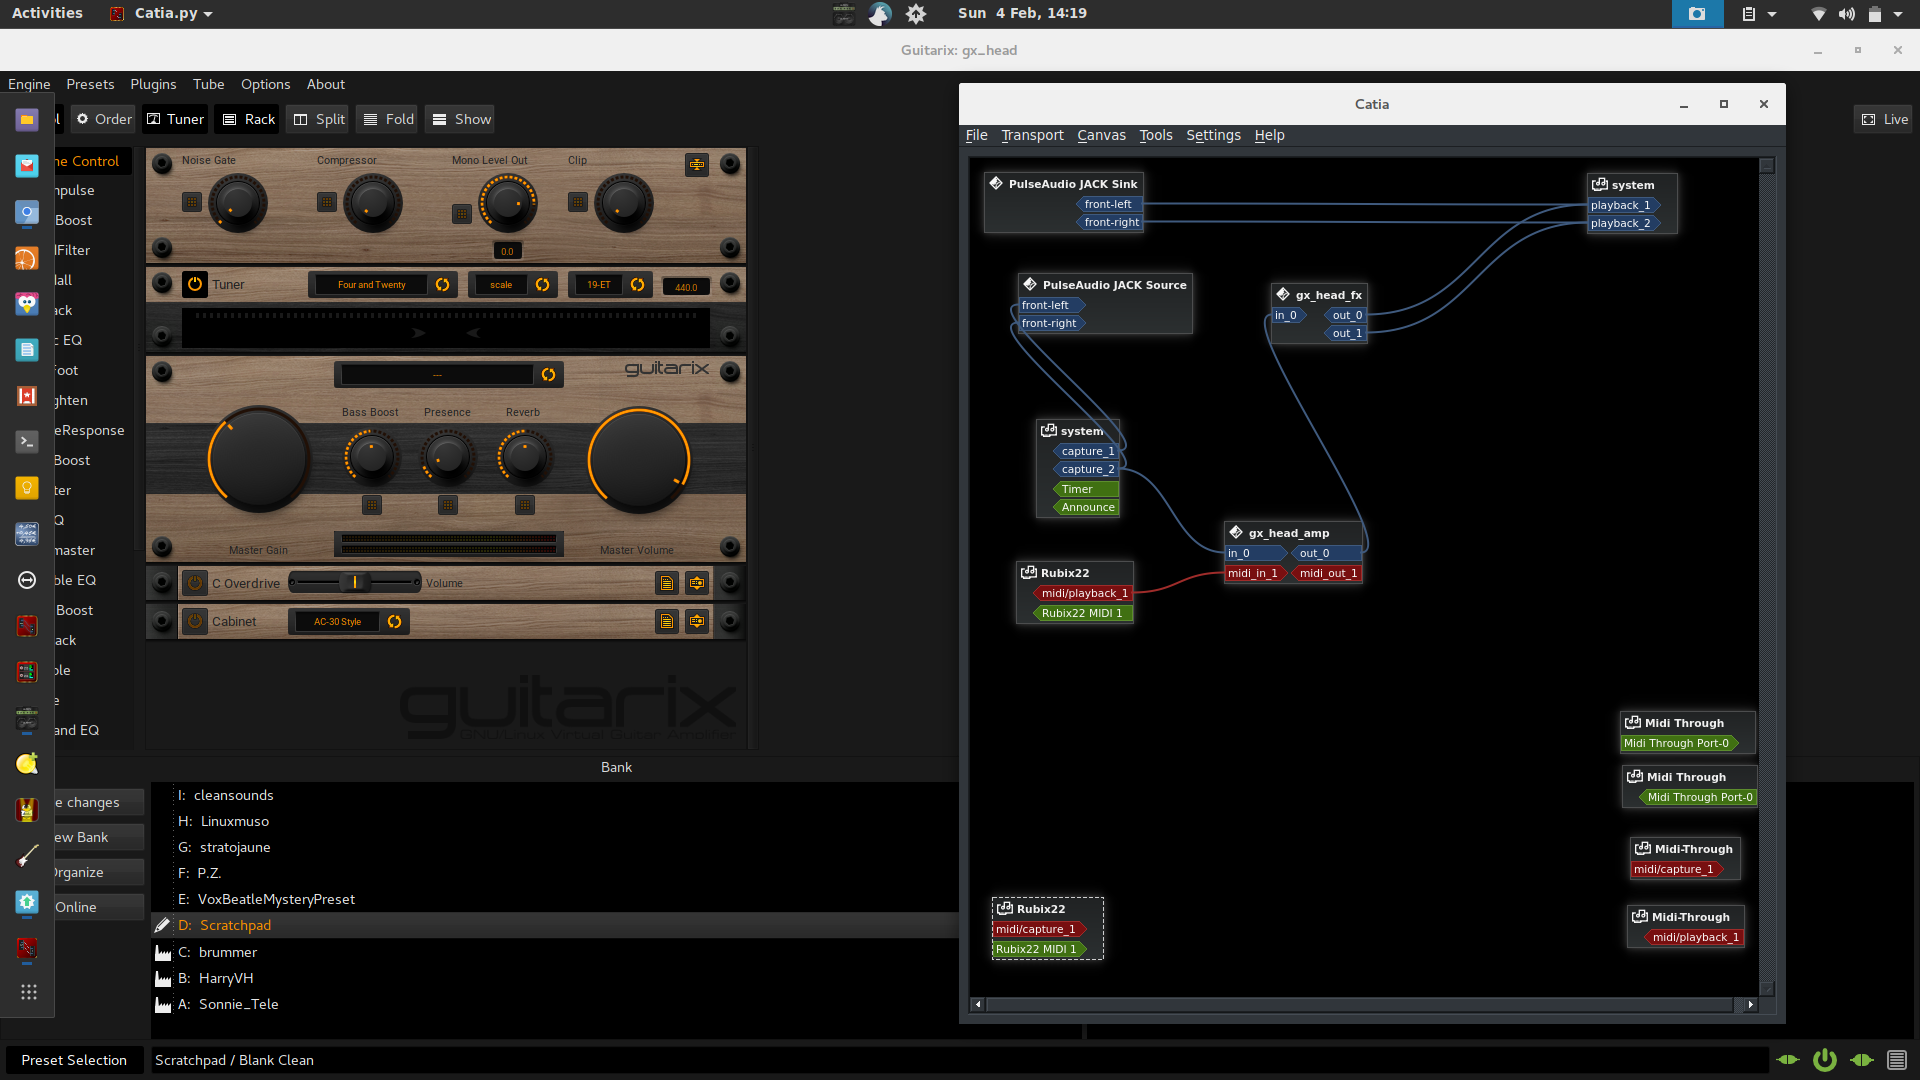
as you can see ive just created a standard template rack config which im going to use through me presets with the racks in the order which i think is best!
